How to tie a figure 8 follow through knot
This is based on a basic knot, the simple figure eight or figure-of-eight. The second line follows the knot from end to start forming an opposing knot.
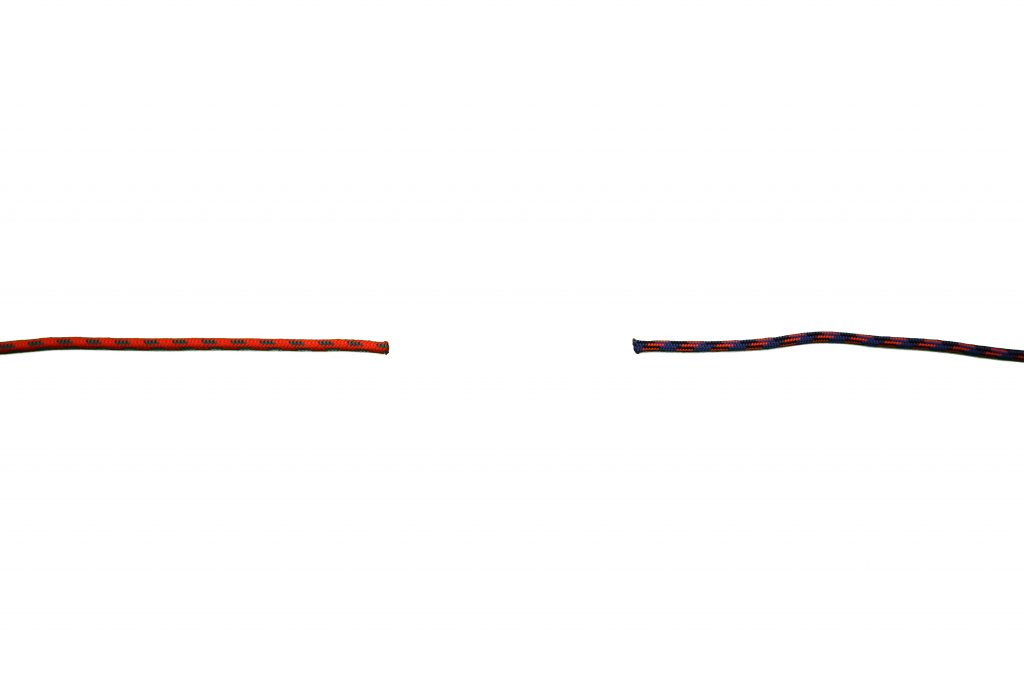
![Figure 8 Follow Through Knot Step 1 by Comtrain](/images/comtrain/knots/figure-eight-follow-through-knot/Step1.jpg)
Step 1
Take two running ends of the rope and place them facing each other.
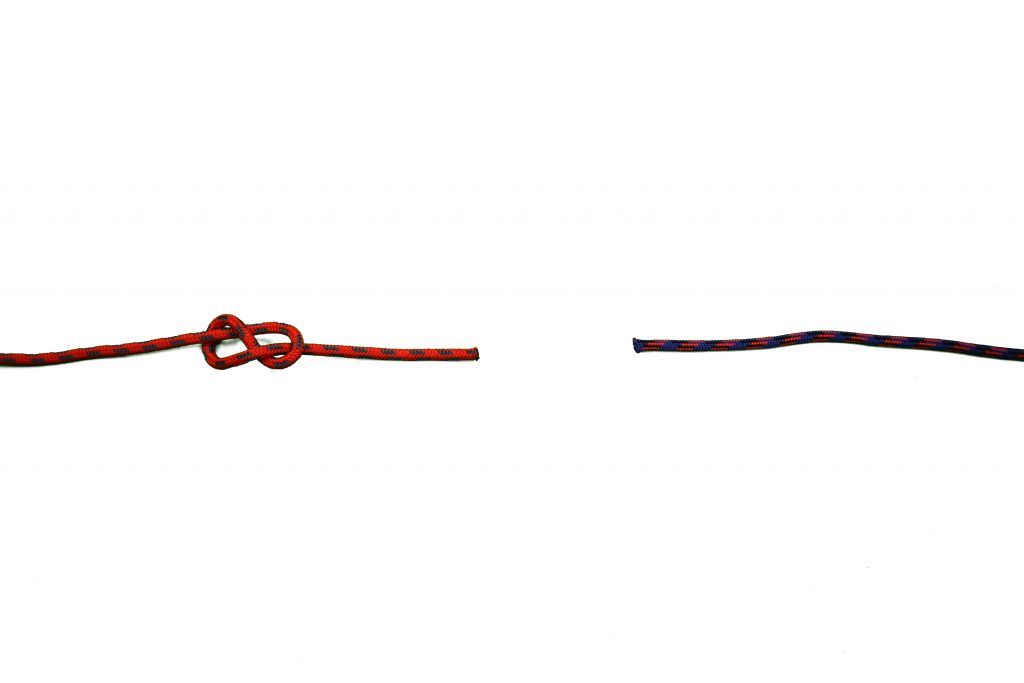
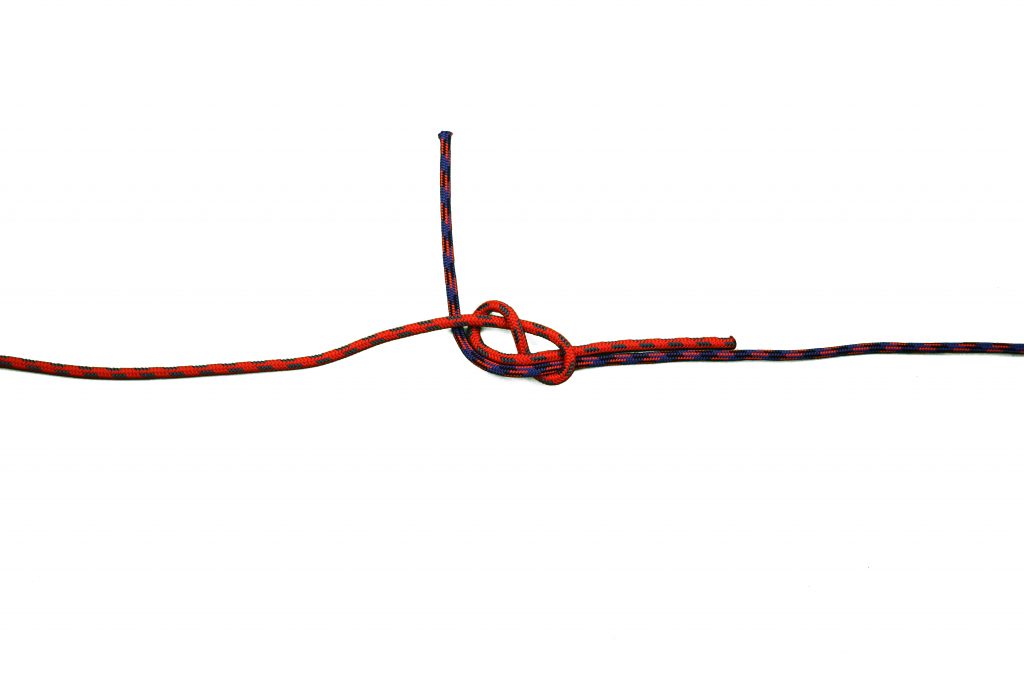
![Figure 8 Follow Through Knot Step 2 by Comtrain](/images/comtrain/knots/figure-eight-follow-through-knot/Step2.jpg)
Step 2
Take one of the working ends of rope tie a figure 8 knot.
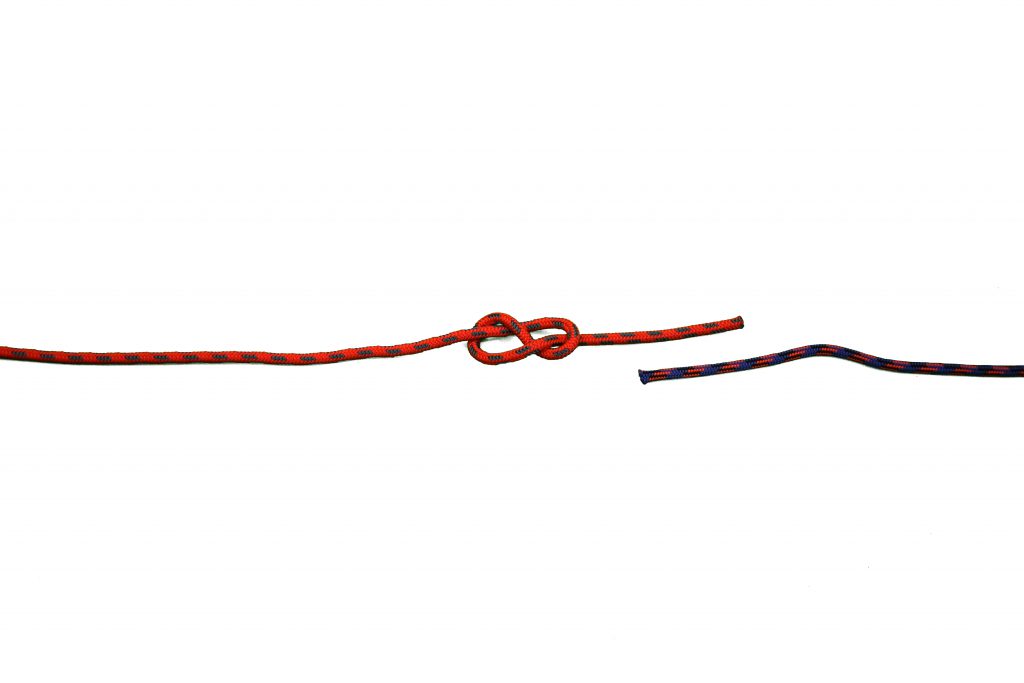
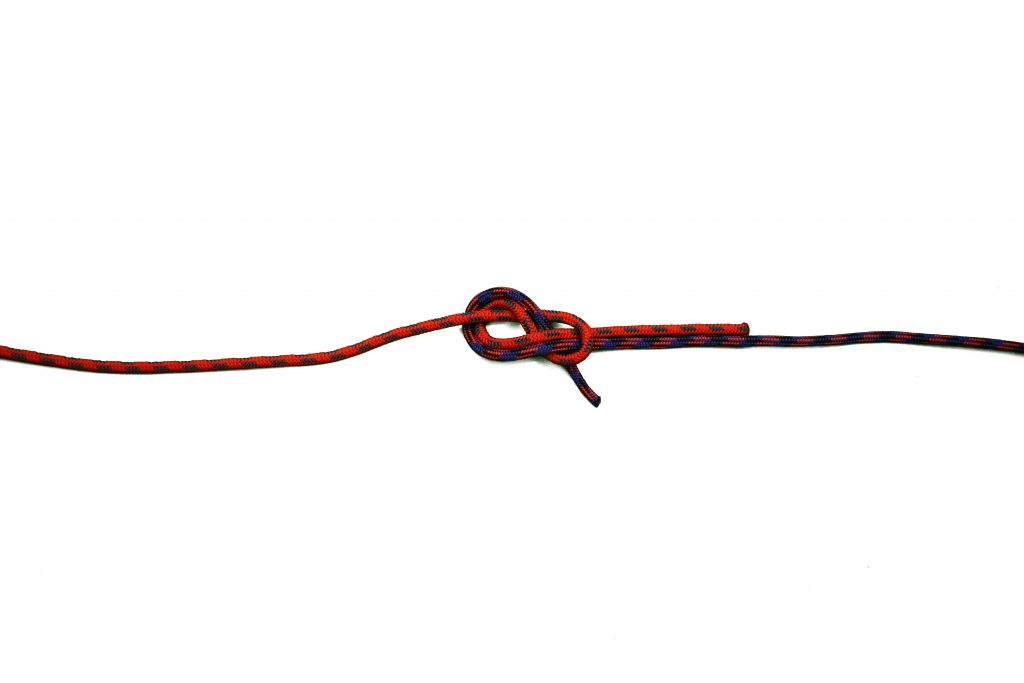
![Figure 8 Follow Through Knot Step 3 by Comtrain](/images/comtrain/knots/figure-eight-follow-through-knot/Step3.jpg)
Step 3
Feed the second rope in from the side of the knot that has the terminated end.
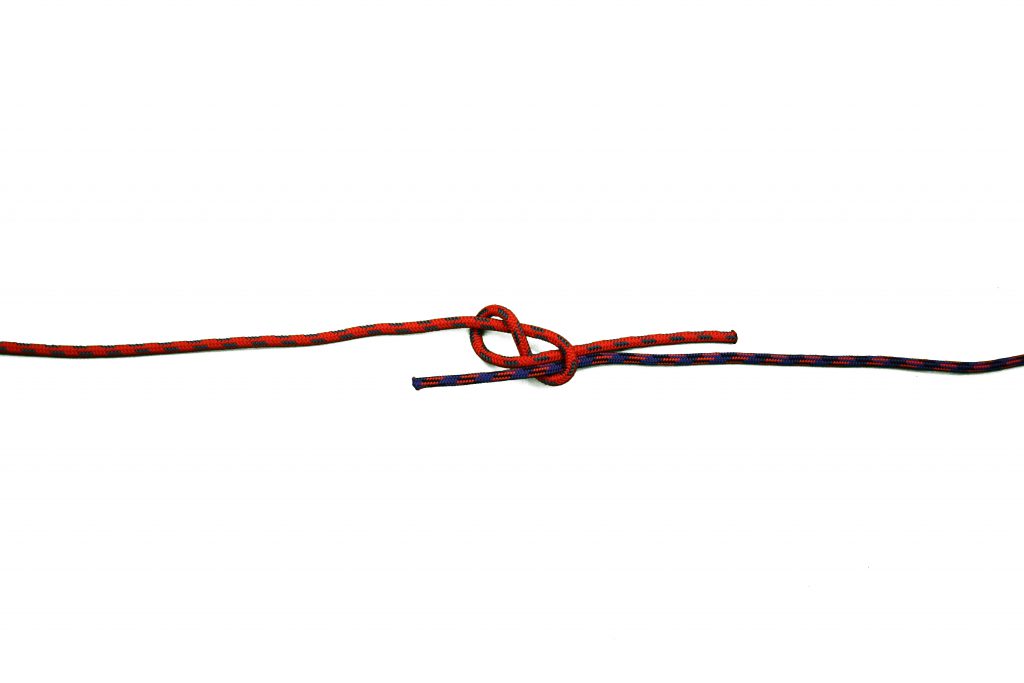
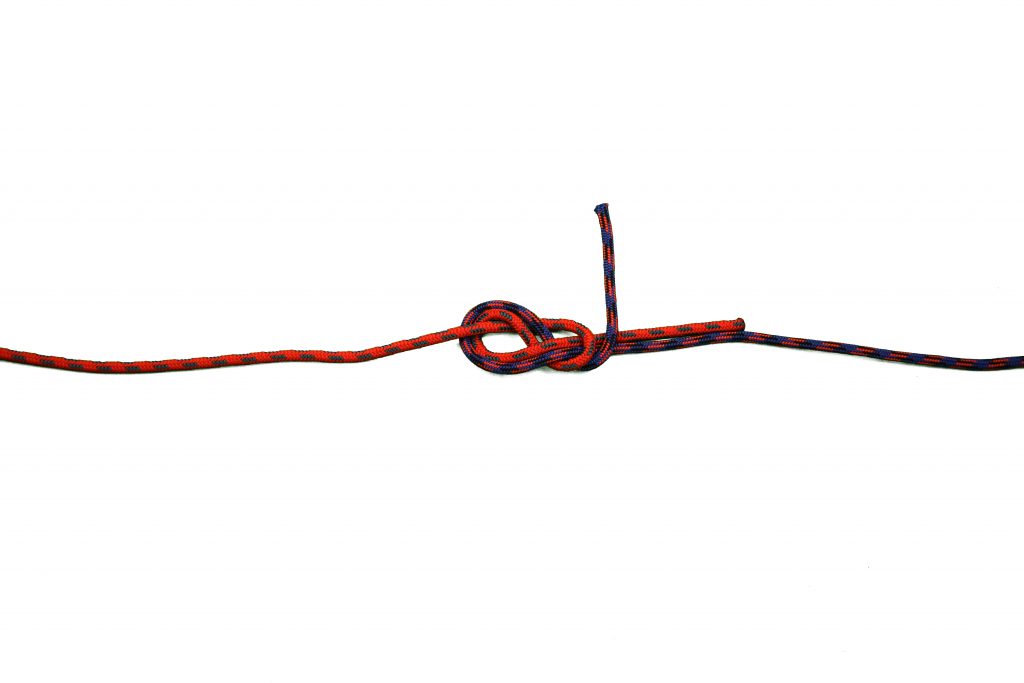
![Figure 8 Follow Through Knot Step 4 by Comtrain](/images/comtrain/knots/figure-eight-follow-through-knot/Step4.jpg)
Step 4
Following the same pattern as the figure 8 knot, feed the running end back through the knot.
![Figure 8 Follow Through Knot Step 5 by Comtrain](/images/comtrain/knots/figure-eight-follow-through-knot/Step5.jpg)
Step 5
Follow the (red) rope that is tied in the figure 8.
![Figure 8 Follow Through Knot Step 6 by Comtrain](/images/comtrain/knots/figure-eight-follow-through-knot/Step6.jpg)
Step 6
Each bend in the rope should end up with two ropes side by side.
![Figure 8 Follow Through Knot Step 7 by Comtrain](/images/comtrain/knots/figure-eight-follow-through-knot/Step7.jpg)
Step 7
Each bend in the rope should end up with two ropes side by side.
![Figure 8 Follow Through Knot Step 8 by Comtrain](/images/comtrain/knots/figure-eight-follow-through-knot/Step8.jpg)
Step 8
On both ends of the knot there should be two ropes.
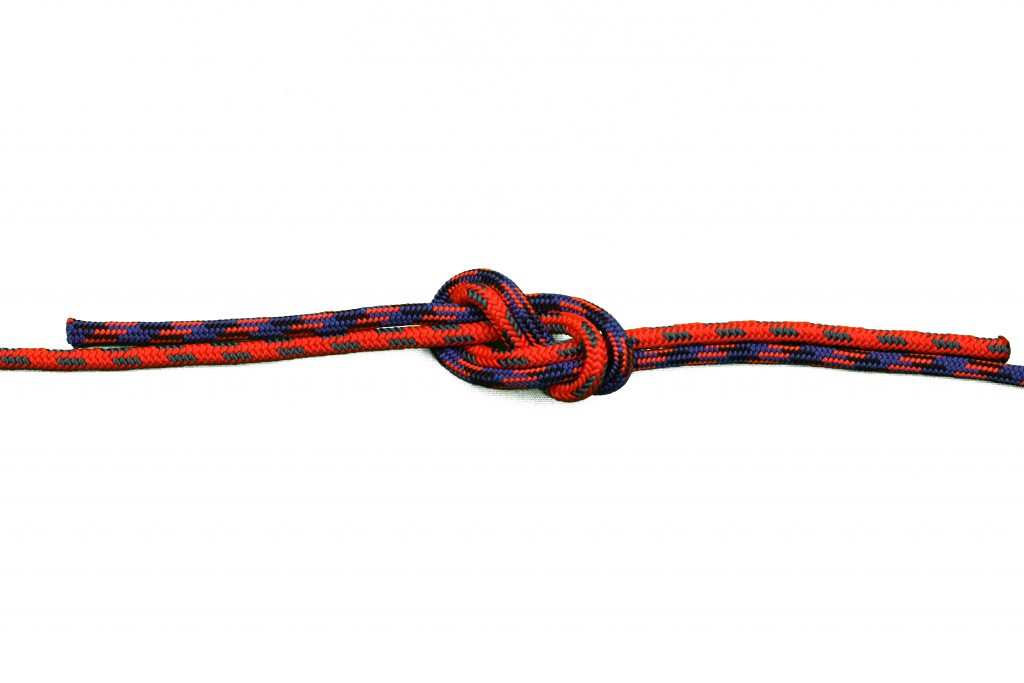
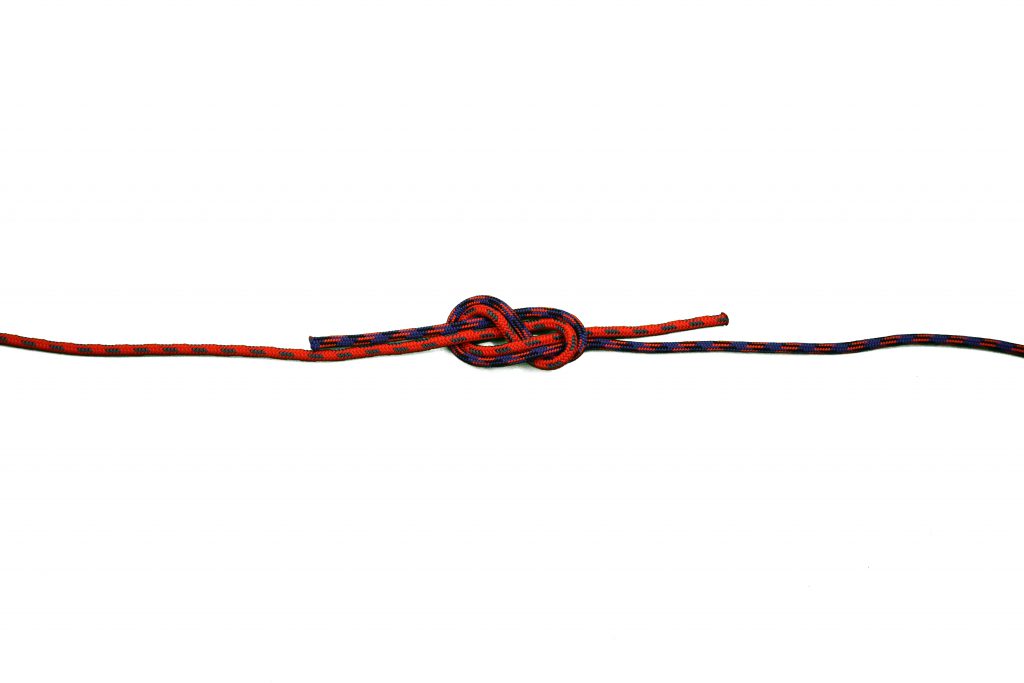
![Figure 8 Follow Through Knot Step 9 by Comtrain](/images/comtrain/knots/figure-eight-follow-through-knot/Step9.jpg)
Step 9
Dress and set the knot.