
How to tie a webbing overhand bend
As with many bends this is one knot tied by following the course of the original knot only in reverse.
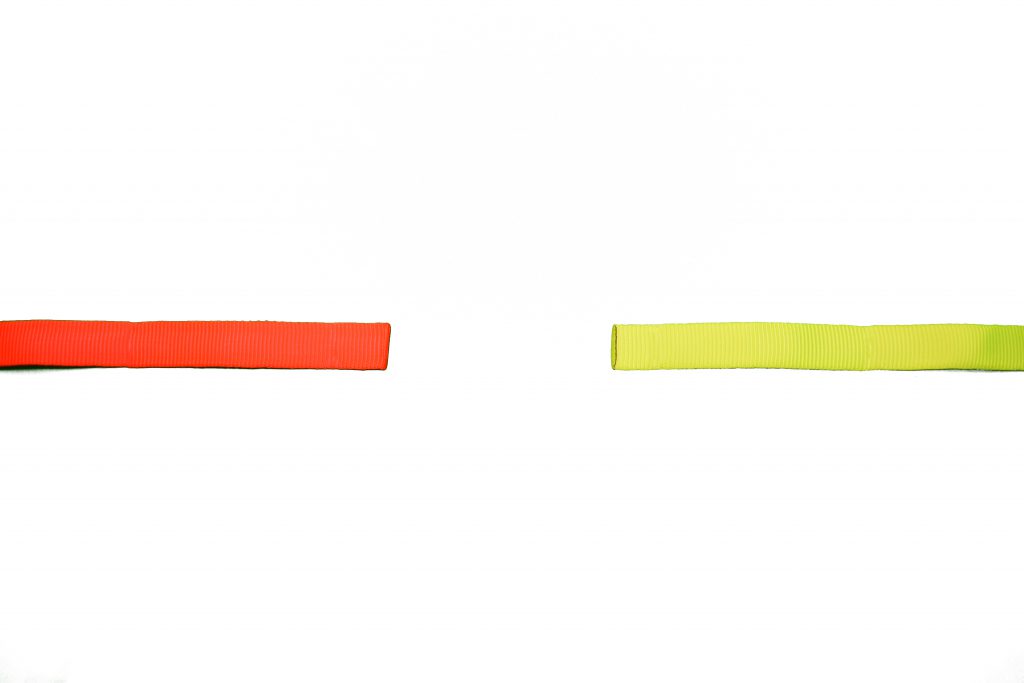
Step 1
Take two running ends of the webbing and place them facing each other.
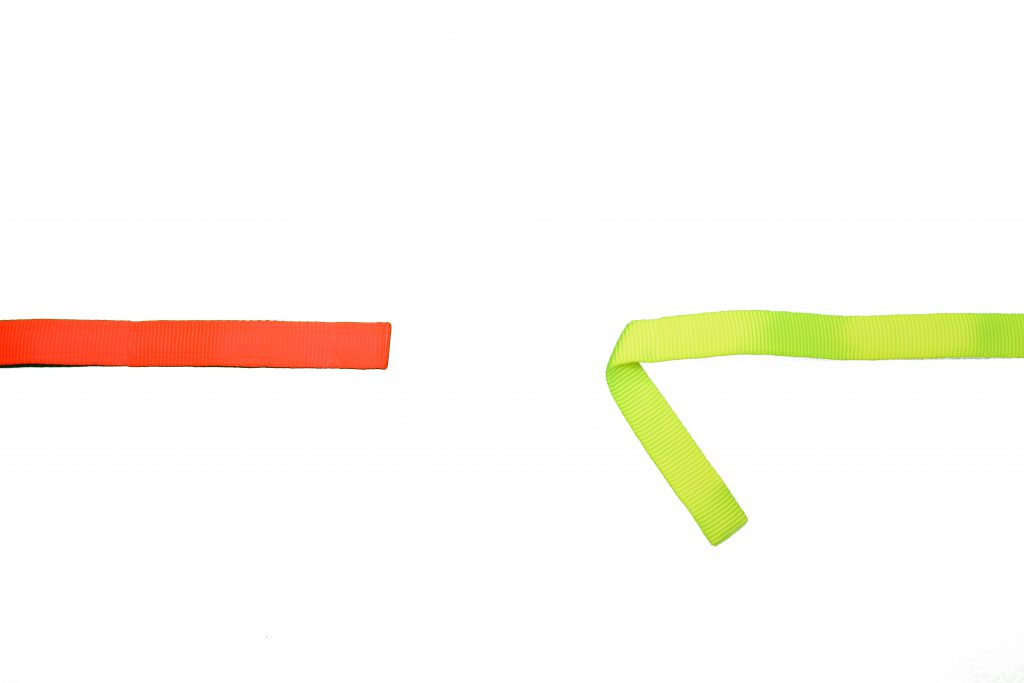
Step 2
Take one of the working ends of the rope and tie a simple overhand knot. With webbing it is easier to think of tying as bending the webbing, keeping flat bends all the way through the knot. Start by bending the webbing down.
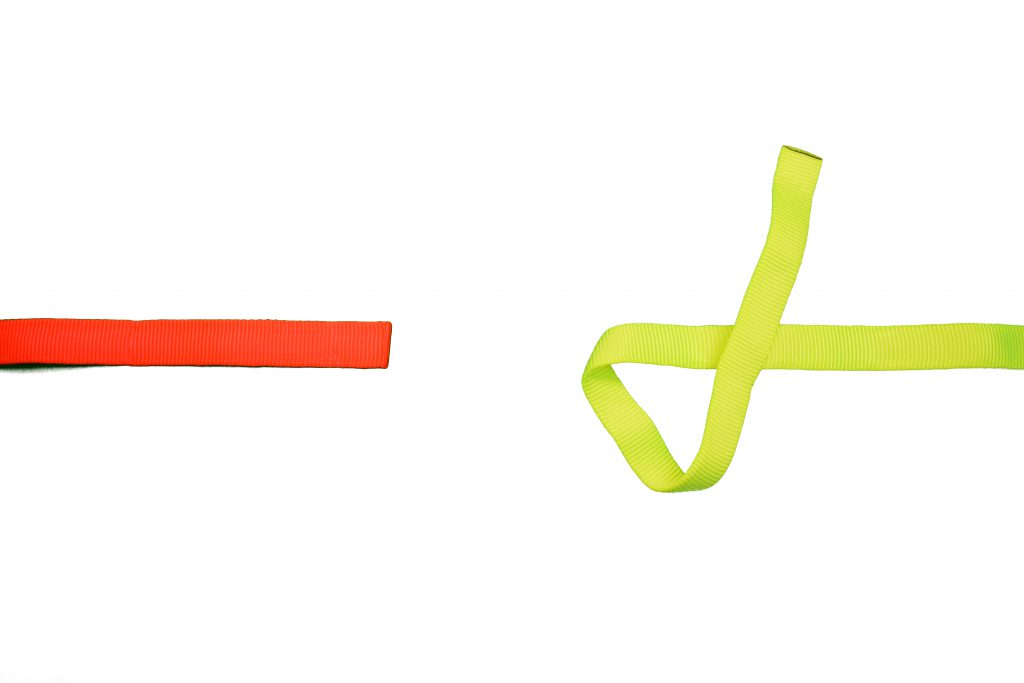
Step 3
Next bend the webbing up, placing the running end of the webbing over the standing end.

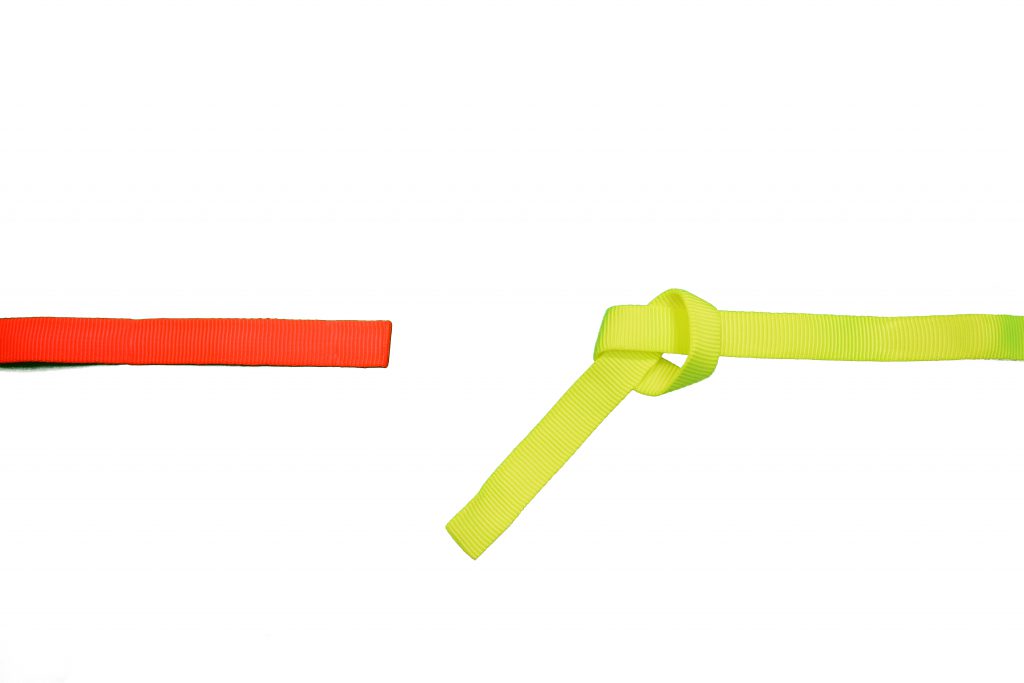
Step 4
Bend the webbing one more time around the standing part. Place the running end through the center of the knot that was formed by the bends.
Step 5
Leave the knot loose enough to place webbing throughout the knot.
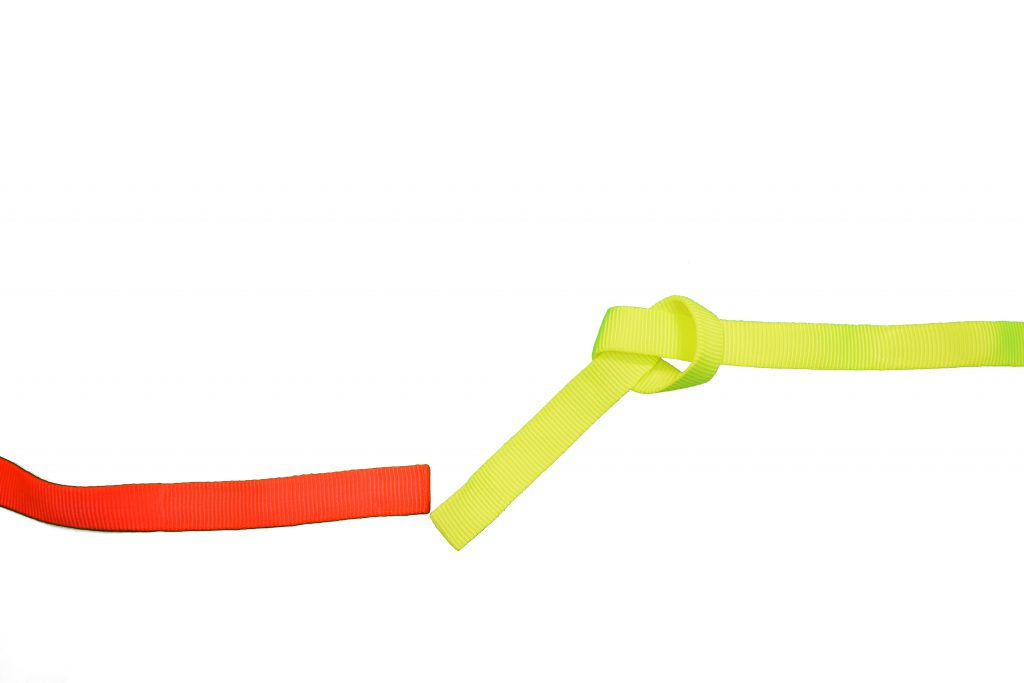
Step 6
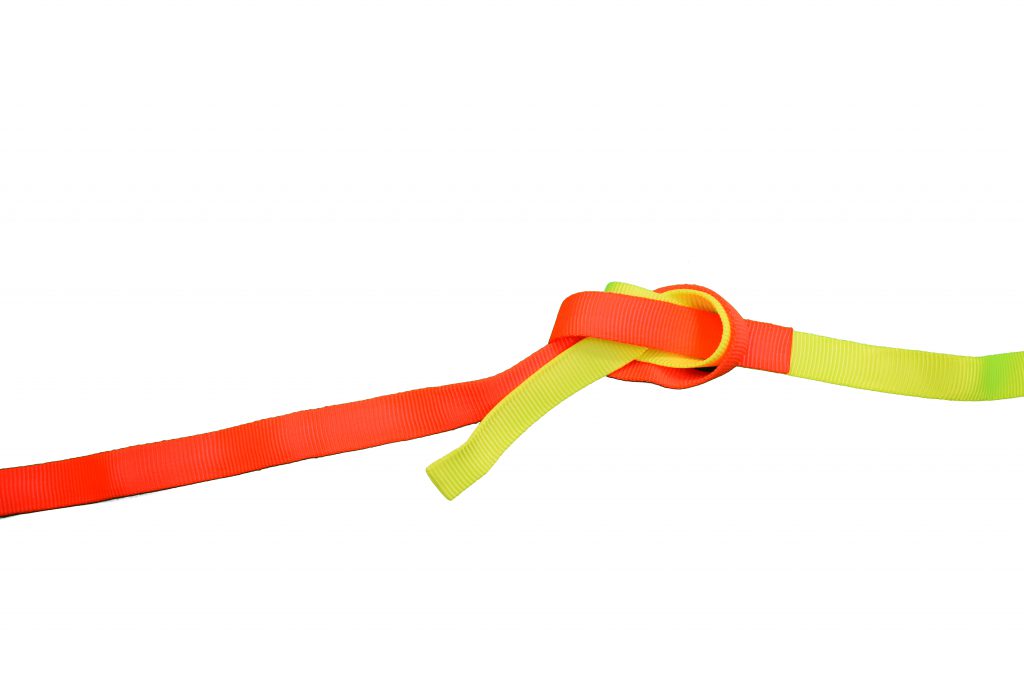
Feed the second rope in from the side of the knot that has the terminated end.

Step 7
Following the same pattern as the overhand knot, feed the running end back through the knot. The second piece of webbing should enter between the center of the knot and the bend. See the image below for proper placement.
Step 8
Pull the webbing through a few inches.
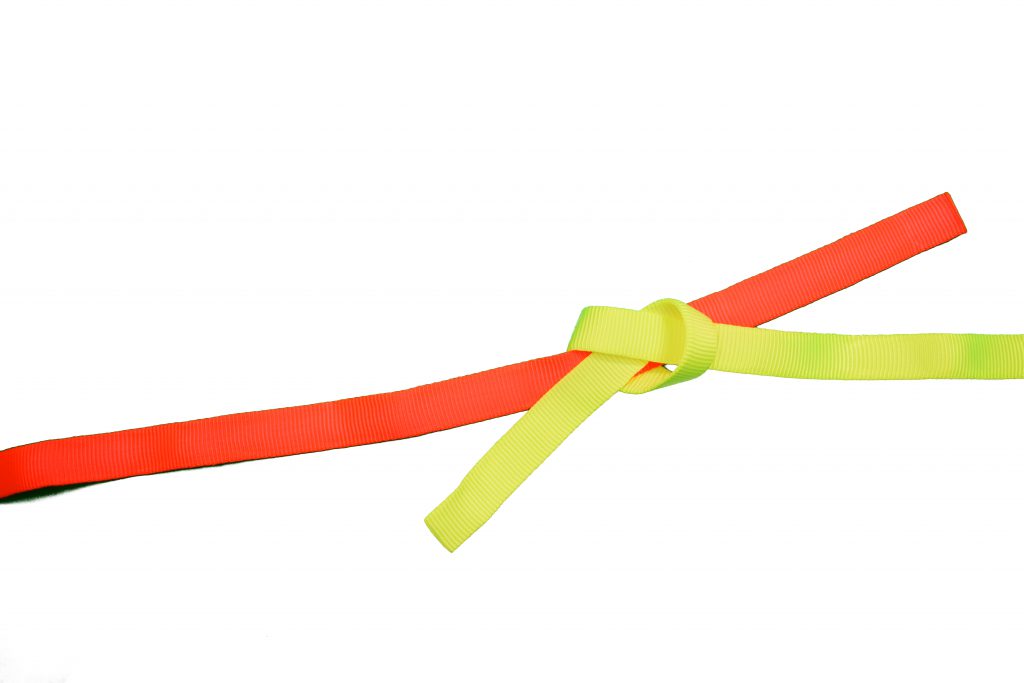
Step 9
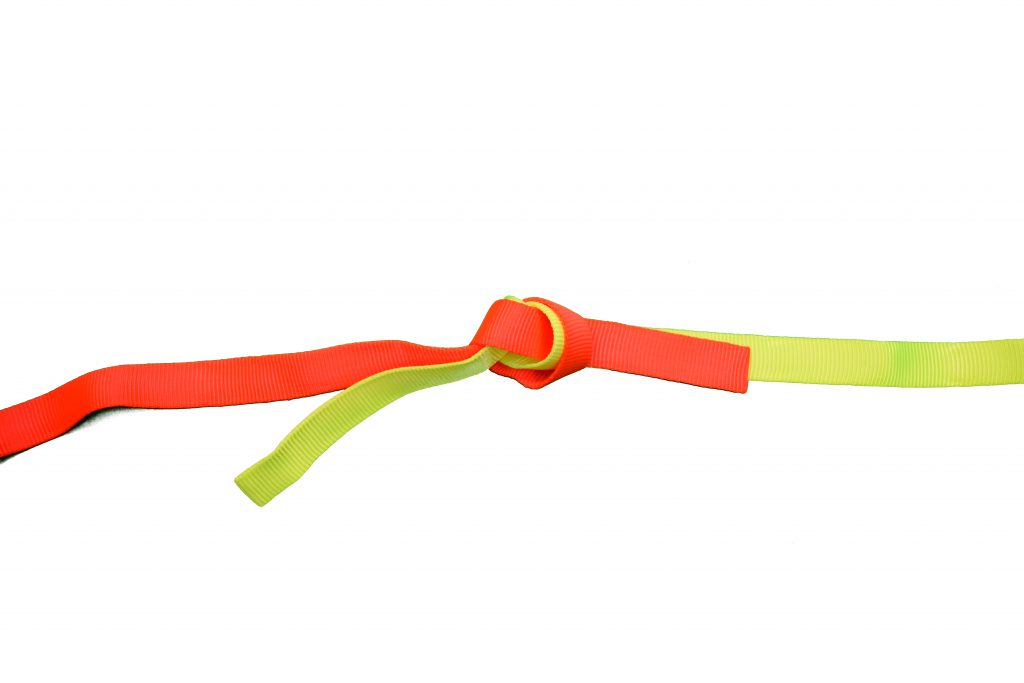
The (orange) webbing will follow the (yellow) webbing keeping the two pieces flat together.
Step 10
Continue to trace the webbing.
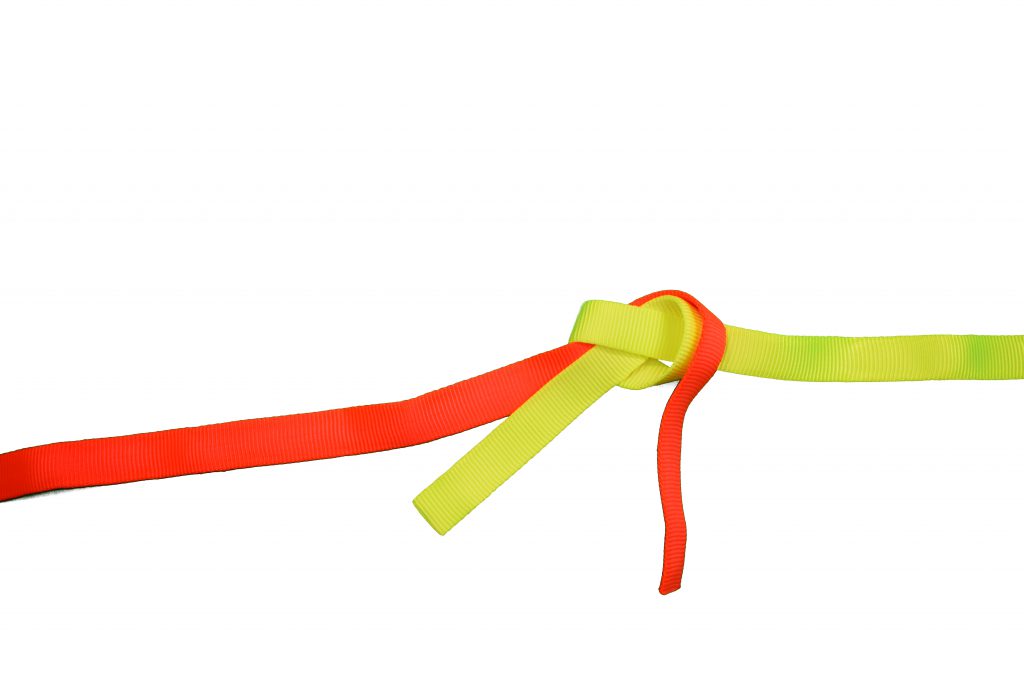
Step 11
Place the webbing through the center.
Step 12
Pull the the running and standing ends on both sides of the bend to tighten.
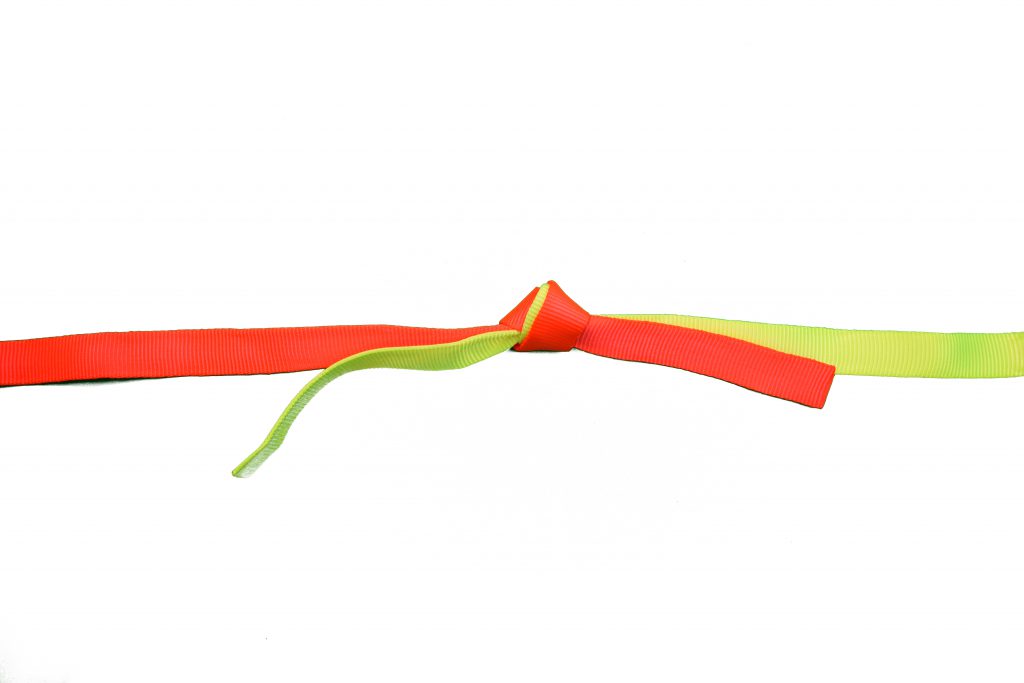
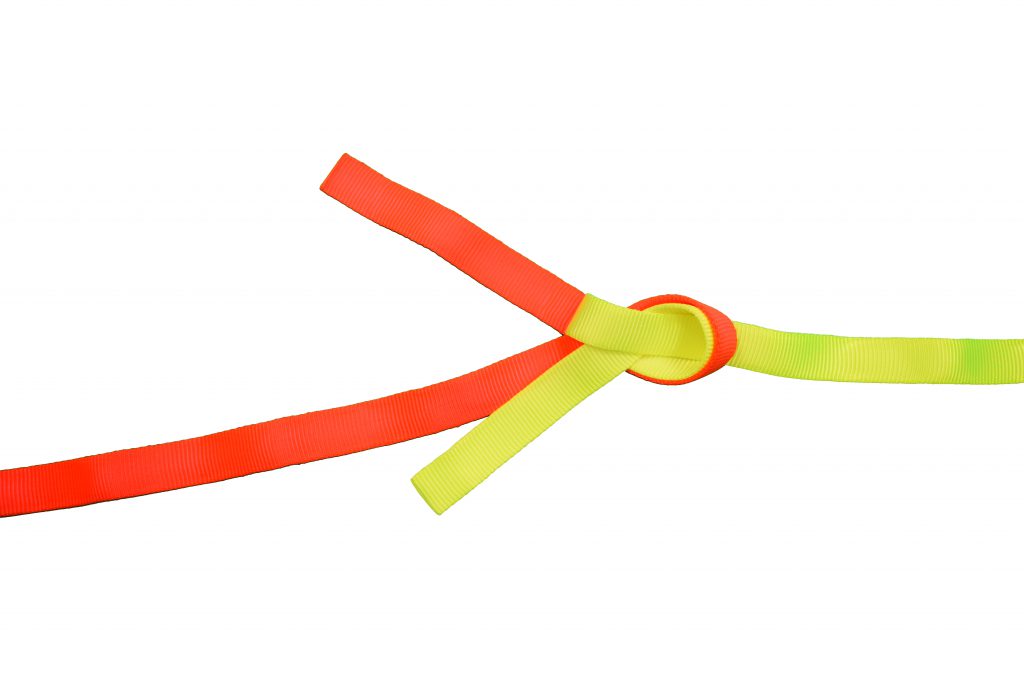
Step 13
Final View